Hello!
I have such a fun topic to talk about today, FLAT LAYS! If you don't know what a flat lay is, it is a picture of an assortment of items taken from above. They look super aesthetically pleasing and are a great way to showcase numerous amount of items, food, clothes, anything you want really. When you don't know what it is you're exactly doing or looking for, taking a flat lay photo can be quite challenging, but that's why I am here! Now let's get started so that you can spice up your Instagram today!
 |
| Color Montage Via Quaint Aesthetics on Pinterest |
What you'll need...
Taking flat lay photography is quite simple once you figure out what you need. All of the needed items that are listed are fairly inexpensive, or they may all ready be in your house.
A Flat Surface
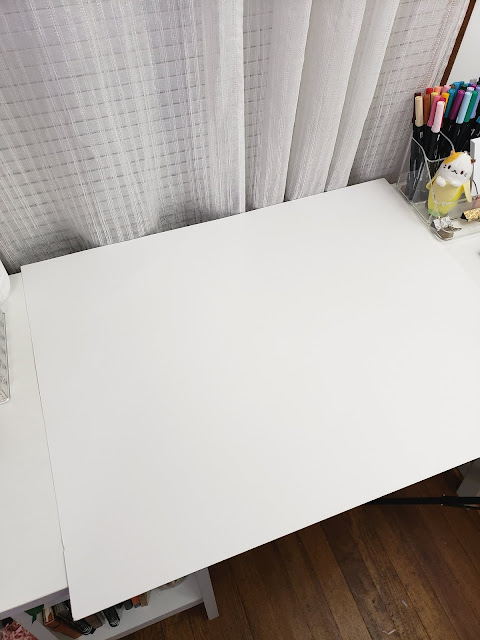
Any flat surface you have lying around, like a table, island counter top, or even the floor will work perfectly. If you are like me and just want a clean and simple surface for your pictures, you can just use a large white poster board. I got mine from my local dollar store, but they can be found on Amazon and any office supply store. You can chose any color, I prefer white as it reduces visual clutter.
A flat white surface
A Light Source
Light Sources are very important for flat lays, as you want to reduce the amount of shadows that appear on your picture. Setting up a photo shoot near a well lit window is always a great idea. Natural sunlight is your best friend in this case. You can also get professional studio lights if you have the funds to invest in them. If you don't have this option, just use a lamp with a soft white light bulb, and refrain from using warm white. All you want is to make sure that your flat lay is free of large shadows.
I just have one studio light, and it comes with a diffusing canopy. My setup is near a north-facing window.
Props
Props are literally the most fun part of taking flat lay photos. I find myself spending way too much time deciding on which props I wish to use. Props can be anything lying around your house and you can even buy things from the store if you wish to have different props. I suggest choosing a focal point and a theme for your flat lay. In this case, my focal point is my bullet journal, while my theme is fruit and just Spring time in general. Here is my "prop case" that I use to store my growing collection of random objects and fake lemons.
 |
| Prop Case |
 |
| Some of the props I plan to use in my flat lay. The lemons are my favorite! |
Taking the picture!
At this point, you have all the materials you need to take your photo! The next step, is setting up your picture. Do you want a clean look or a slightly messy look? Eclectic or minimal? Colorful or monochromatic? This is all for you to decide! Start with your focal point near the center and being setting up props near it with similar angles and lines. Try adding movement to your flat lay with organic shapes and just try moving things around, see what works for you! Eventually, you will find the right assortment, and all you have to do is stand over top of the flat lay and take your picture! That is really all there is to it. Here is my finished result!
 |
| Finished Result Via Quaint Aesthetics on Pinterest |
Hopefully this post helps you to take fun pictures for your website, Instagram, or business! Just keep taking more photos and you too will get addicted. Remember that I am no professional, so I am learning just like you. Remember to share this post and please follow us on Instagram and Pinterest to keep up with Quaint Aesthetics. Keep taking photos and Stay Sweet!


Comments
Post a Comment