Besides bullet journaling, one of my many passions is making cards. This allows me to be more creative in terms of what I can do with stationery. Making a good card does take a lot of patience, but not nearly as much as it does to make a full bullet journal spread. In this post, I wanted to share with you a thank you card that I recently made, as well as a few materials and tricks that I used when making it.
 |
| ~The finished product~ |
PASTEL OMBRE CARD
This serves as the base of my card, and where I can write my message. For this part of the card, I just got a sheet of ombre card stock (which can be found at any craft store) and cut it to size with a paper cutter. mine was about 4 inches in width and 9.5 inches long. next, I used a ruler to make lines to write on within the card. But not just any lines, I made white lines. I figured that these would fit the aesthetic of the card and it turned out quite nicely. To make these lines I used a White Uniball Signo Gel Pen.
 |
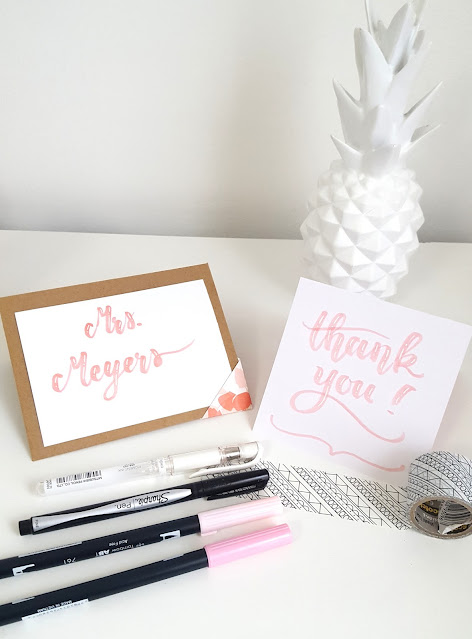
| The materials seen here are a kraft envelope, some pieces of decorative card stock, a Copic marker in light prawn, a Uniball Signo White gel pen, and some washi tape |
ADDING CALLIGRAPHY
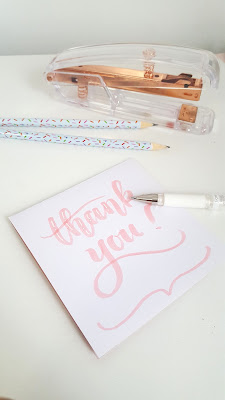
This is always the most fun part about designing cards, writing the calligraphy! Here I used a pink Tombow dual brush pen to write the words "thank you", as this is a thank you card, and then proceeded to add some embellishments to the calligraphy. The most common embellishment that I add are highlights, which I do by simply making the letters look shiny with the white gel pen. You can add this to your calligraphy to make it stand out even more, and have a more clean and polished look.
Thank you calligraphy note
CUTTING CUTE CORNERS
Cute corner on card
This next thing I did was simply only to add some dimension and flare to the outside of the card. This little corner is similar to that of a scrapbook pocket, and was quite simple to make. I simply drew a small right triangle on a scrap of card stock, and then folded along the lines I made. The dotted potion will be folded behind the card. after that I simply just made it flat in the back and secured it with tape, I didn't try to make the back as fancy and finished.
FINISHING TOUCHES
After that, I made my final calligraphy-based changes and wrote my message on the white lines of the inner card. Finally, this is how it turned out!
calligraphy DIY cards
Hopefully you enjoyed reading this post about how I made this thank you card. If you are interested in how I did something in this post, please leave a comment and let me know. I will be sure to post a detailed and step by step tutorial on it as soon as possible. Also, don't forget to share this post on social media with your friends! Happy Card Making! ^-^


Comments
Post a Comment