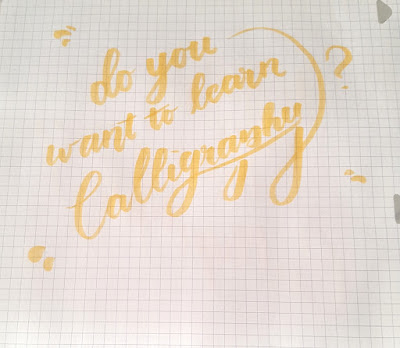
DO YOU WANT TO LEARN HOW TO DO CALLIGRAPHY?
Calligraphy takes a lot of patience to learn, but if you are persistent and just practice, you will get the hang of it in no time! Let's get started shall we?
GATHERING YOUR MATERIALS
to learn calligraphy, you need a writing tool, such as a calligraphy pen or crayola marker, and some paper to practice on. I am using Mead Five Star Graph Paper, but you can use any paper you like. I recommend this paper as it guides your writing as well as spacing, and it doesn't let ink bleed through, which is always a plus! If you are interested to see the calligraphy markers, check out my post on my favorite bullet journaling pens.
LEARNING YOUR STROKES
The whole premise of brush lettering is upstrokes and downstrokes. I have labeled these parts on the diagram above. first, start by using the broad side of your marker to come down and make a downstroke (1). Next, lightly use the tip of the marker to bring an upstroke (2) up to the top. practice this motion until you feel comfortable with it, and can end up with a result similar to what is shown above.
WRITING THE ABC's
This post will only teach the specifics of learning to write the first three letters of the alphabet: A, B, and C.
Within the letter "a", there are a total of four strokes. I have labeled each with a corresponding number, and a flowchart of how the letter should come together as you write.
- curved downstoke
- small upstroke
- slanted downstroke
- small upstoke
The letter "b" only has three strokes,
- long upstroke
- long downstroke
- short upstroke curving toward the left
If you are adventurous, here is amore stylized "b". I prefer this one when writing!
- long upstoke
- long curving downstroke
- circular motion with both and upstroke and downstroke
Don't feel discouraged if you can't get that one in a couple of tries, it is quite challenging, and it took me months to understand how it worked.
Last but not least is the letter "c". This is arguably the easiest of the bunch. You can either,
- one simple curving downstroke
or
- one short upstoke
- curving downstoke
That is pretty much it. You may not get it the first few times, but keep practicing and really pay attention to how you hold your pen. the thickest and broadest side should be used when making downstrokes, and wth a shift in pressure, only use the tip for the upstrokes. Don't worry, if you are eager to learn more letters, then don't worry, I'll post more calligraphy tutorials soon. Follow the blog or any of my social media to stay updated about the next post. Check my Contact Info tab to find out more. Happy journaling!
Did you like this post? Leave a comment and tell me what you thought. Don't forget to share this post as well! ^-^
Did you like this post? Leave a comment and tell me what you thought. Don't forget to share this post as well! ^-^


I wish to express my thanks to the writer just for bailing me out of this
ReplyDeletescenario. Just after scouting through the internet and obtaining basics that
were not pleasant, I thought my entire life was gone.
Living without the solutions to the difficulties you've resolved all through your short
article is a crucial case, and the kind which may have badly affected my entire career if I hadn't noticed your web
blog. The knowledge and kindness in touching every item was invaluable.
I'm not sure what I would have done if I had not come across such a subject like this.
It's possible to at this point look ahead to my future.
Thanks a lot very much for the impressive and effective guide.
I won't be reluctant to recommend the blog to any individual who should have counselling about this issue.